


How to Add a Facebook Page to a WordPress Website
There are two ways to dynamically embed Facebook into WordPress website::
- Integrate your Facebook account with a WordPress plugin that automatically displays account updates in an easy-to-use way.
- Manually embed Facebook dynamically into your website using the plugin provided by Facebook.
Let's look at the easy way to show Facebook page dynamics on your WordPress site using a plugin.
![Image [1] - How to add a Facebook page to a WordPress website: plugin and manual integration methods](http://gqxi.cn/wp-content/uploads/2024/12/20241226120712421-image.png)
How to Add a Facebook Page to a WordPress Website (with a Plugin)
First, choose a trustworthy Facebook dynamic plugin. You can choose some WordPress plugins (free or paid) that have decent reviews and enhance the functionality of your website.
Here, I use the Smash Balloon Custom Facebook Feed plugin, which has over 100,000 active installs.
![Image [2] - How to add a Facebook page to a WordPress website: plugin and manual integration methods](http://gqxi.cn/wp-content/uploads/2024/12/20241226105738375-image.png)
Step 1: Install Facebook Feed Pro Plugin
First, install the plugin on your WordPress website. Once installed, in the WordPress backend, find the "Facebook Feed"Options.
Click on the plugin's "Start the Setup Wizard"Button.
![Image [3] - How to Add a Facebook Page to a WordPress Website: Plugins and Manual Integration Methods](http://gqxi.cn/wp-content/uploads/2024/12/20241226105853263-image.png)
Click "Add New" button to connect your Facebook accounts.
![Image [4] - How to add a Facebook page to a WordPress website: plugin and manual integration methods](http://gqxi.cn/wp-content/uploads/2024/12/20241226105951369-image.png)
Next, select Show Facebook Pagemaybe Facebook Groupsand willThe plugin connects to your Facebook account. If you already have an API access token, you can click "Manually add accounts"Options.
![Image [5] - How to add a Facebook page to a WordPress website: plugin and manual integration methods](http://gqxi.cn/wp-content/uploads/2024/12/20241226110102836-image.png)
If there is no API access token, continue "Connect to Facebook."
![Image [6] - How to add a Facebook page to a WordPress website: plugin and manual integration methods](http://gqxi.cn/wp-content/uploads/2024/12/20241226110204848-image.png)
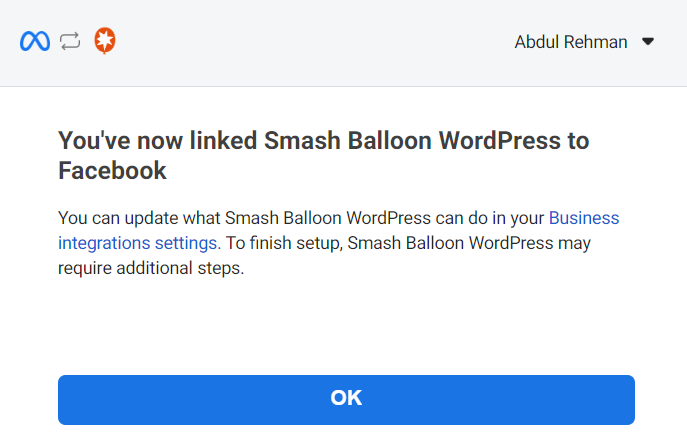
Log in to your Facebook accounts, and by clicking on the "proceed with"Allow Smash Balloon to make connections.
![Image [7] - How to add a Facebook page to a WordPress website: plugin and manual integration methods](http://gqxi.cn/wp-content/uploads/2024/12/20241226110254120-image.png)
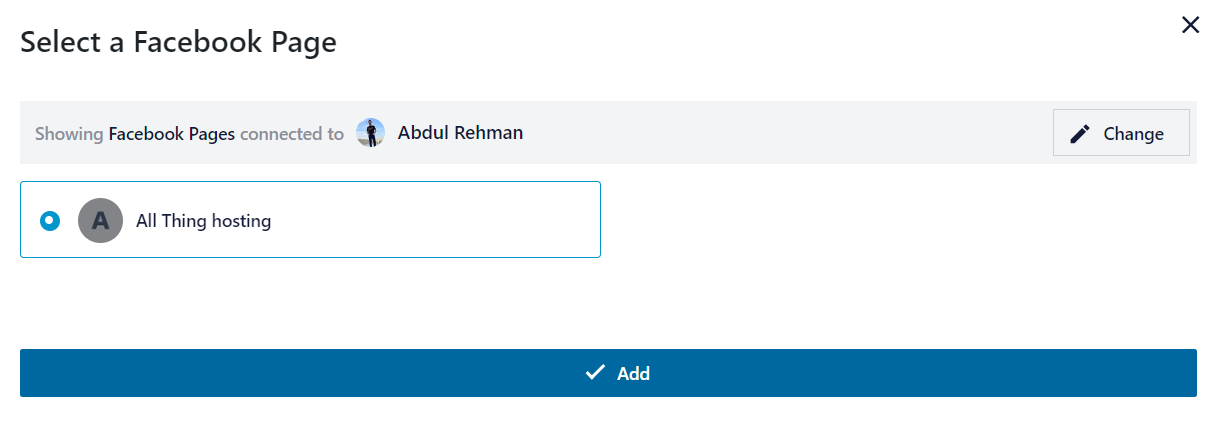
Now, select your Facebook page.
![Image [8] - How to add a Facebook page to a WordPress website: plugin and manual integration methods](http://gqxi.cn/wp-content/uploads/2024/12/20241226110313643-image.png)
Select the actions that Smash Balloon WordPress is allowed to perform. It is recommended to leave all options open and click "fulfillment".
![Image [9] - How to add a Facebook page to a WordPress website: plugin and manual integration methods](http://gqxi.cn/wp-content/uploads/2024/12/20241226110554985-image.png)
- Next click on "recognize".
- Select the Facebook page and click "Add "The
At this point, the first stage of the setup is complete. To continue, click "the next step".
![Image [12] - How to add a Facebook page to a WordPress website: plugin vs. manual integration methods](http://gqxi.cn/wp-content/uploads/2024/12/20241226110822273-image.png)
- Configure additional features as needed and click "Next."The

It will ask to install some plugins. I simply turned those options off and proceeded.
After that, you will see a page that says: "Great, you're all set!" Then scroll down until you see "Finish setting up without upgrading."Options. Just click on it.
![Image [14] - How to add a Facebook page to a WordPress website: plugin vs. manual integration methods](http://gqxi.cn/wp-content/uploads/2024/12/20241226110954200-image.png)
That's it! The plugin is now set up correctly. Next, you can:
- Create your dynamic
- Customizing dynamic types
- Embed your dynamics
Step 2: Create a New Facebook Dynamic
Now, it's time to create a new Facebook dynamic. Follow the steps below:
1. Click on "Add a new dynamic".
![Image [15] - How to add a Facebook page to a WordPress website: plugin and manual integration methods](http://gqxi.cn/wp-content/uploads/2024/12/20241226111601926-image.png)
2. Select the type of Facebook motion you want (e.g. Timeline) and click "Next."The
![Image [16] - How to add a Facebook page to a WordPress website: plugin and manual integration methods](http://gqxi.cn/wp-content/uploads/2024/12/20241226111608180-image.png)
3. Select your Facebook page and click "the next step".
![Image [17] - How to add a Facebook page to a WordPress site: plugin vs. manual integration methods](http://gqxi.cn/wp-content/uploads/2024/12/20241226111615501-image.png)
Step 3: Customize your Facebook Feed
The message can now be personalized.
- Customize the appearance of the feed with the settings on the left.
- click (using a mouse or other pointing device)"Feed Layout"Choose from 3 layouts:List, masonry or rotationThe
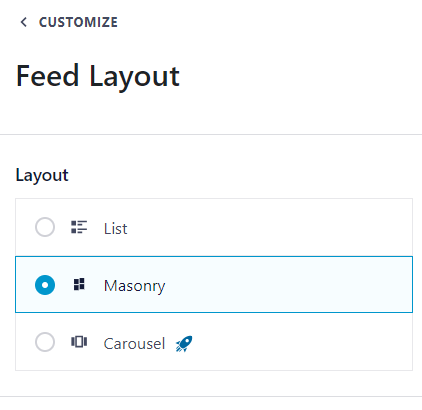
- The first option is "listings" layout, which displays Facebook posts in a single vertically aligned column. This gives each post more space and makes them stand out more on the page.

- Next, there's " Masonry " layout, which arranges Facebook posts in multiple columns and preserves the original proportions of the posts.
- To give visitors more control over how they view Facebook posts, consider "rotate"Layout.
- save (a file etc) (computing)Layout of choice.
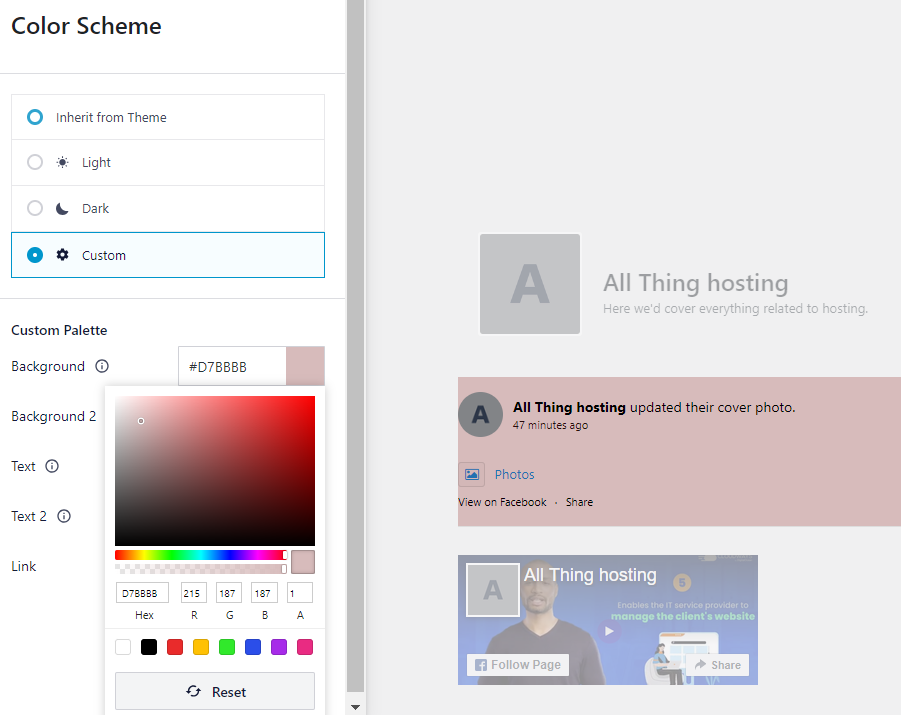
- Choose from four options to adjust the color scheme:
Inherited from theme - light color - dark color - customized
- Dynamically select a favorite color scheme for Facebook and click "save (a file etc) (computing)".
Further enhance Facebook's dynamic design with additional customization options. Now, you can continue with step 4.Embedded Facebook dynamicsThe
Step 4: Embedding Facebook Dynamics
A Facebook status feed can be added to a WordPress site in a number of ways, including using thelump (of earth),widgetsmaybeshort codeThe
- If you useblock editorIt is recommended to useFacebook Feed blocks.
- Select the desired Facebook dynamic.

- When previewing it, you should be able to see the custom feed you created earlier.
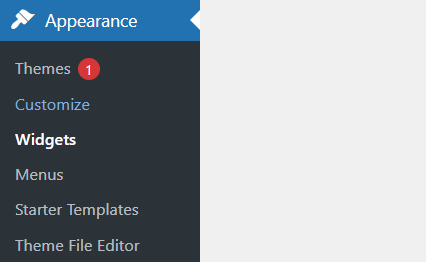
- Another option is by going to Appearance > Widgets.Add synopses to areas such as sidebars that can be used for widgets.
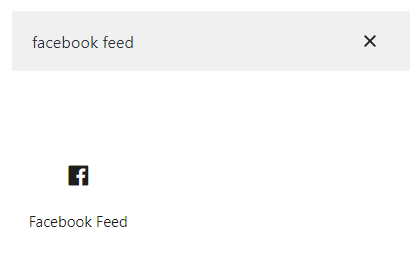
- Click the blue " + " button, and in the search bar search for " Facebook Feed" and drag it to the selected widget area.
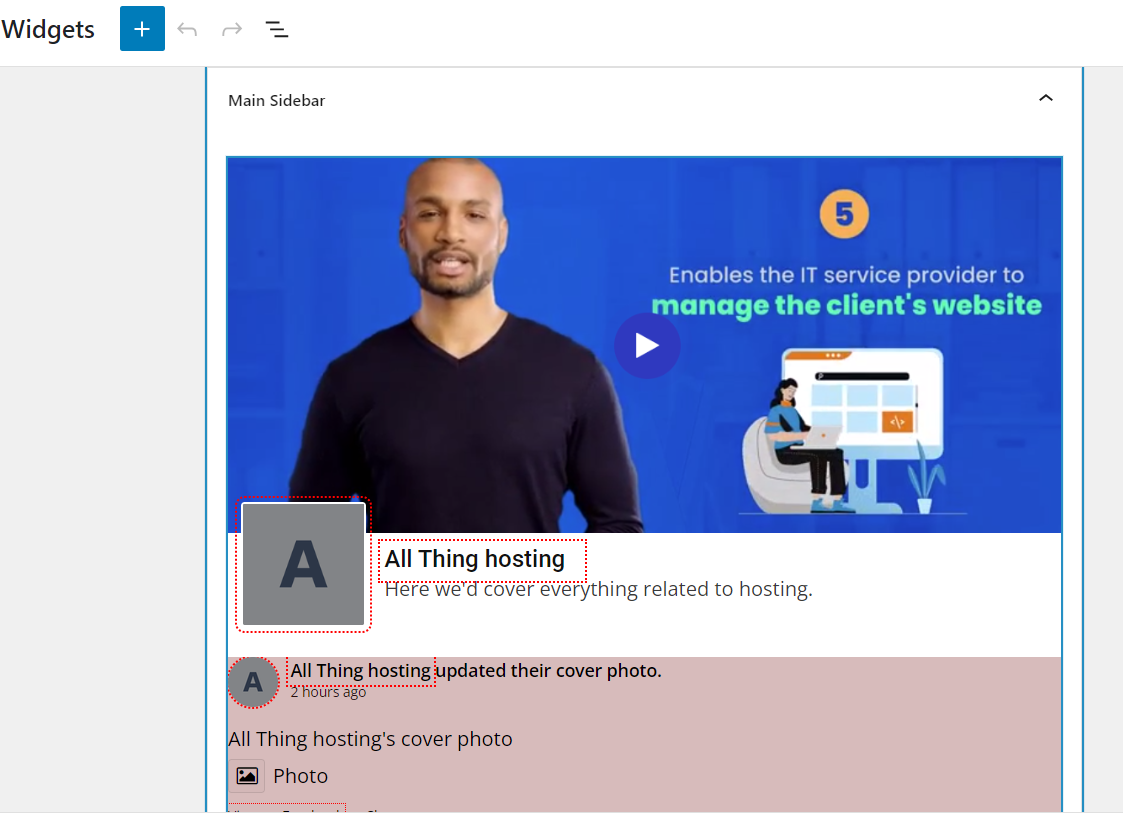
- Add the widget to thea side-bar (in software)After that, the Facebook stream will look like the following:
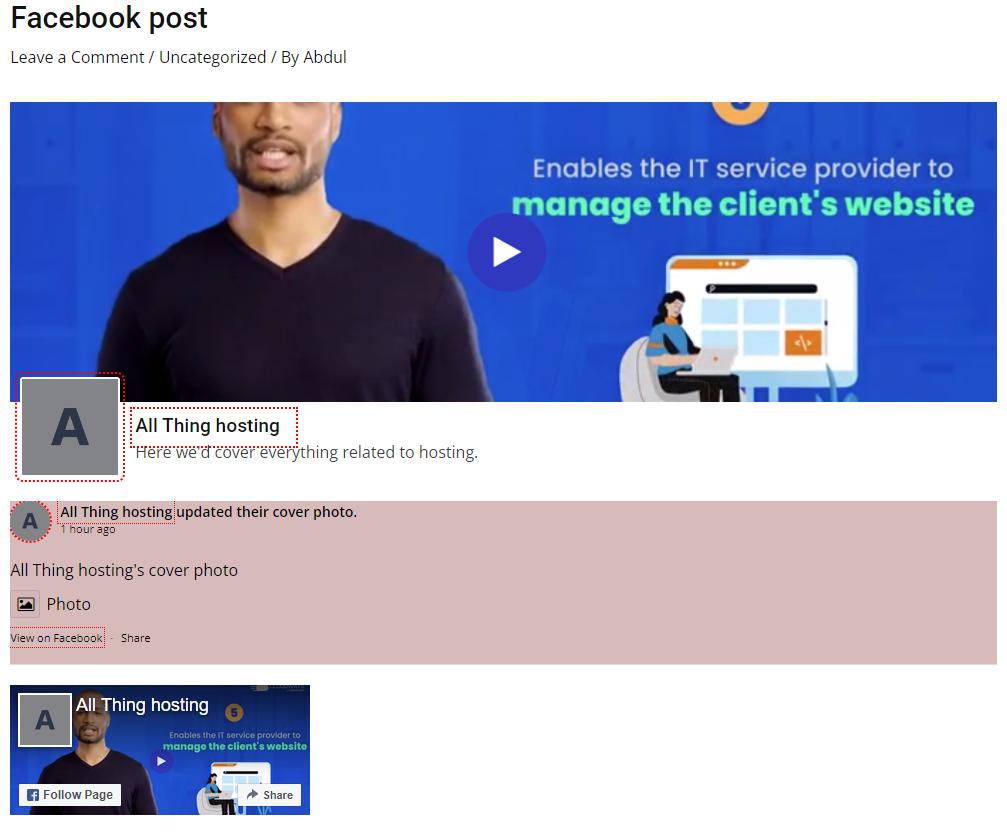
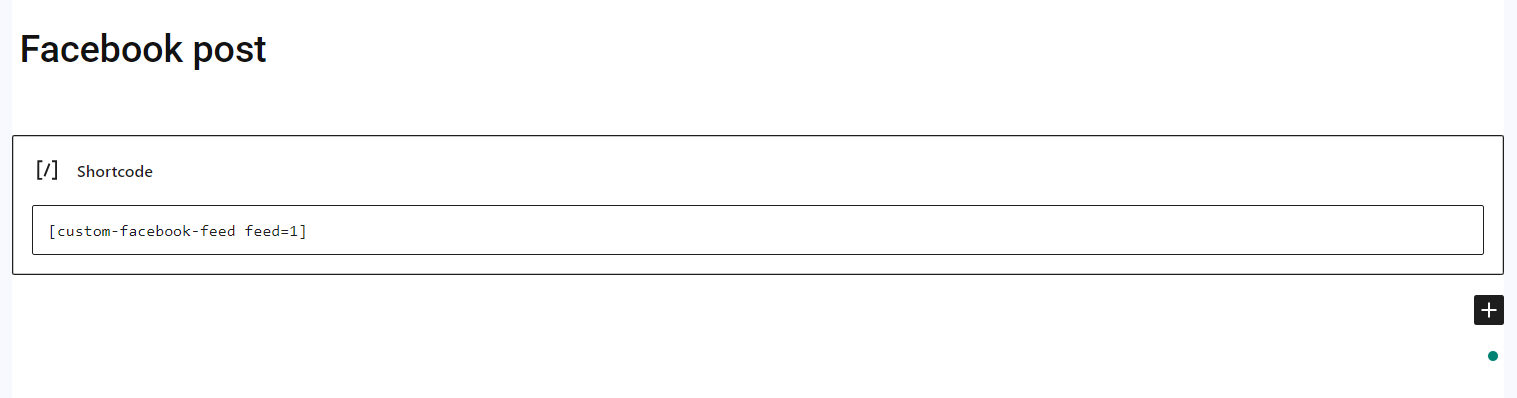
- Finally, with shortcodes, statuses can be embedded into any page, post, or widget-ready area.
- From Facebook Feed >All FeedCopy the shortcode value and paste it into the desired page, post or widget ready area as shown below:
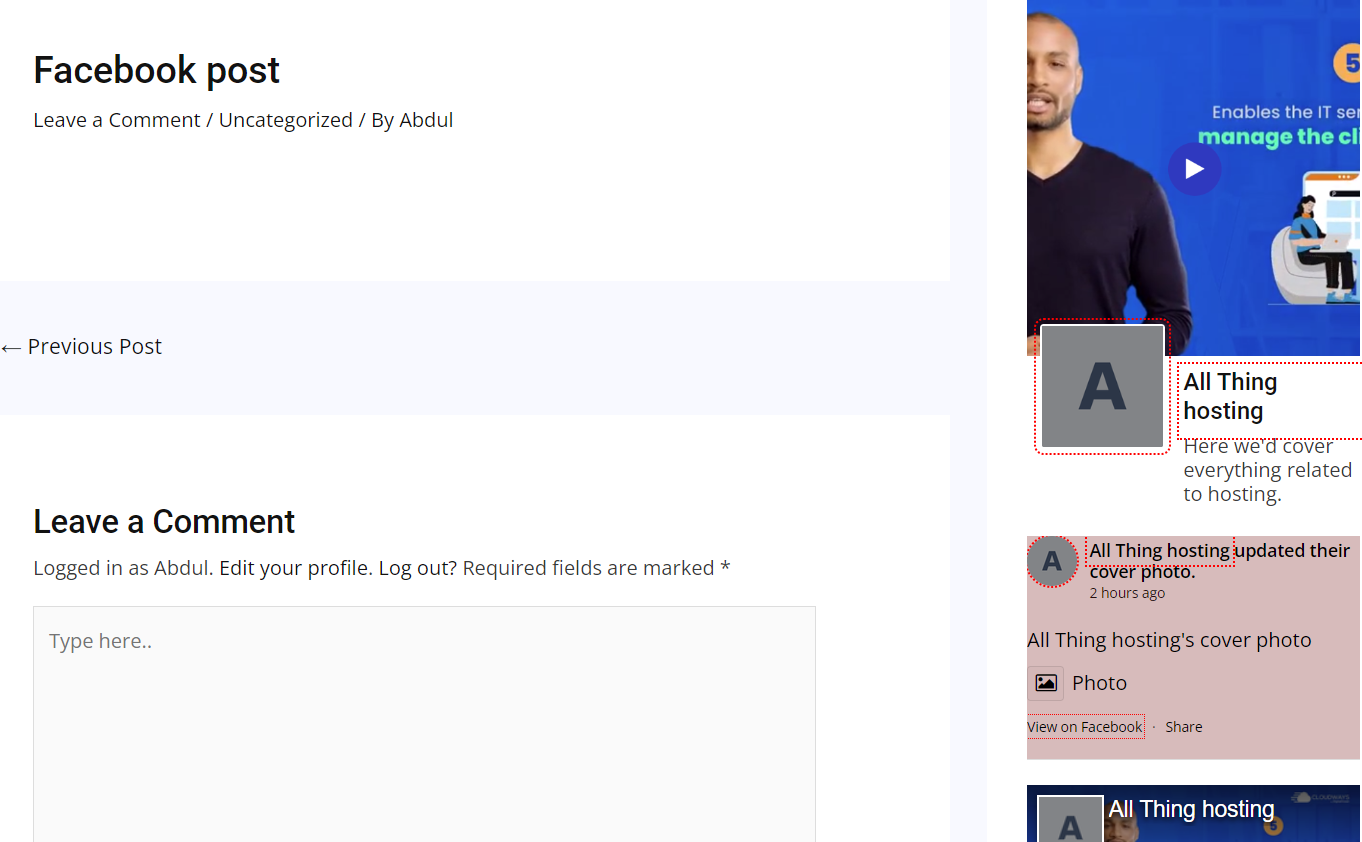
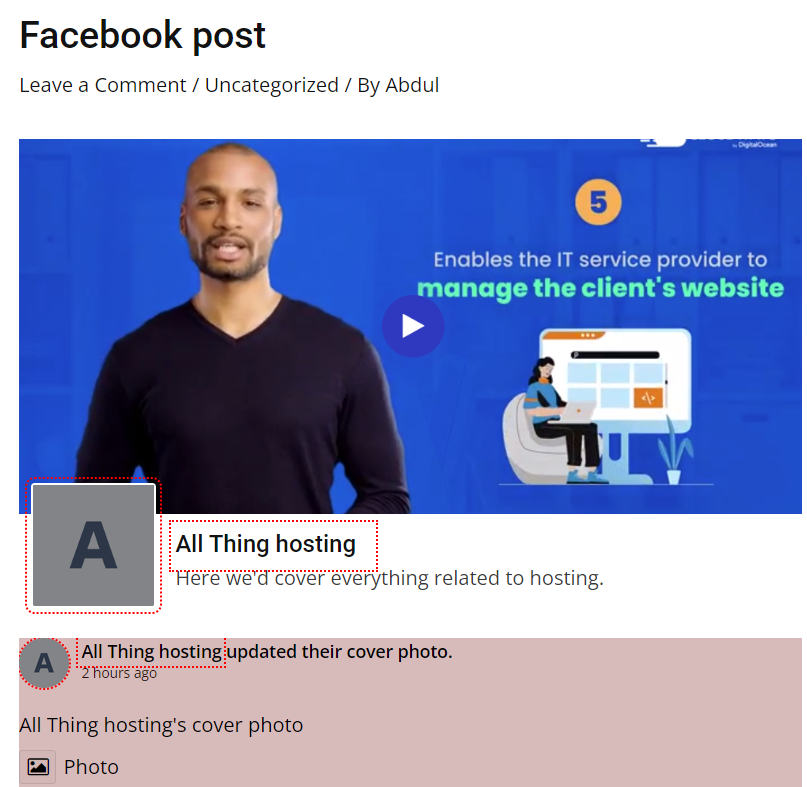
The preview probably goes something like this:
How to Manually Add a Facebook Page to a WordPress Website
Facebook offers a program called Facebook Page Plugin The integration feature allows administrators to display timelines, events, and messages from Facebook pages directly on the WordPress site. However, there are some limitations with this approach compared to the plugin approach, especially for newbies. Basically, using Facebook's native plugin can be difficult for non-technical users as it involves multiple pages and requires manually copying and pasting different code snippets into the WordPress site.
In addition, any error in the code snippet can potentially break the functionality of the site and cause problems. Here are the steps for this approach:
1. First, enter the Facebook page URL.
![Image [29] - How to add a Facebook page to a WordPress website: plugin vs. manual integration methods](http://gqxi.cn/wp-content/uploads/2024/12/20241226113751570-image.png)
2. Select the tags you want to display in the dynamic. You have three options:
- timeline
- event
- messages
1. Specify the dynamic width and height you want to display on your WordPress site.
2. Display settings can be adjusted, including:
- Subtitle and cover photo
- Adjust the container width of the plugin
- Show avatars of Facebook friends
![Image [30] - How to add a Facebook page to a WordPress website: plugin vs. manual integration methods](http://gqxi.cn/wp-content/uploads/2024/12/20241226114304183-image.png)
3. After configuring the settings, click "Get Code" to get the JavaScript SDK and iFrame code.
![Image [31] - How to add a Facebook page to a WordPress website: plugin and manual integration methods](http://gqxi.cn/wp-content/uploads/2024/12/20241226114312157-image.png)
4. Copy the code provided and paste it into the page, post, widget or footer area where you want to add Facebook dynamics.
Advantages of dynamically integrating Facebook into your website
There are many benefits of dynamically integrating Facebook into your WordPress website, here are some of them:
- Building credibility and trust
Facebook dynamically displays user-generated content, customer reviews and ratings, posts, etc., which prove the relationship with the customer. This increases the trust of the customers and the credibility of the website. - Enhancing website aesthetics
Facebook Dynamic adds vibrancy and personalization to the look of a website, improving its aesthetics and creating an engaging user interface. - Enhancing Audience Engagement
Whether it's a post or a dynamic, Facebook content provides a sense of attraction, charm and interest to website visitors. Integrating it into a website provides an interactive and unique content experience that significantly enhances user engagement. - Improve search engine rankings
Dynamically integrating Facebook into a website enhances engagement, authority, reliability and aesthetics. These enhancements positively impact a site's SEO performance, as search engines prioritize sites that provide a superior user experience, valuable content, and authoritative sources.
summarize
Adding Facebook dynamics to your WordPress website is a great way to increase brand exposure, capture user interest and earn trust. In the article, we discuss two ways to dynamically integrate Facebook into your WordPress website: using a plugin and manual integration.

Link to this article:http://gqxi.cn/en/31900The article is copyrighted and must be reproduced with attribution.


![Emoji[chi]-Photonflux.com | Professional WordPress repair service, worldwide, rapid response](http://gqxi.cn/wp-content/themes/zibll/img/smilies/chi.gif)
![Emoji[xigua]-Photonflux.com | Professional WordPress Repair Service, Worldwide, Fast Response](http://gqxi.cn/wp-content/themes/zibll/img/smilies/xigua.gif) [Images]
[Images]


No comments